Boyanmış hali beni feci dürtüklüyor

Kaynak Briskoda
[quote name='jonny boy' timestamp='1343226752' post='2875179']
Thanks to Freddie (Confide) for sharing the secrets and pattern for this job. Been looking forward to changing them as I've hated the colour from new.
First remove the lights and clean them thoroughly with Isopropanol (or equivalent)
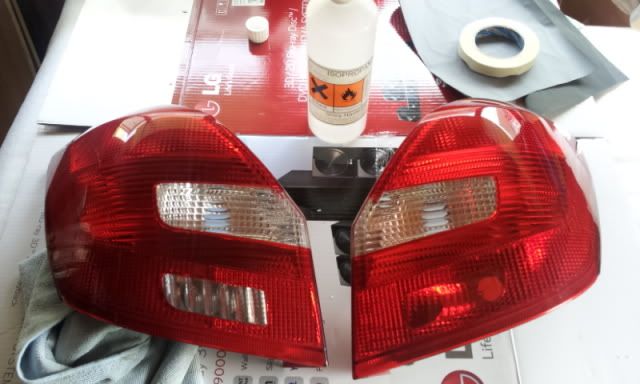
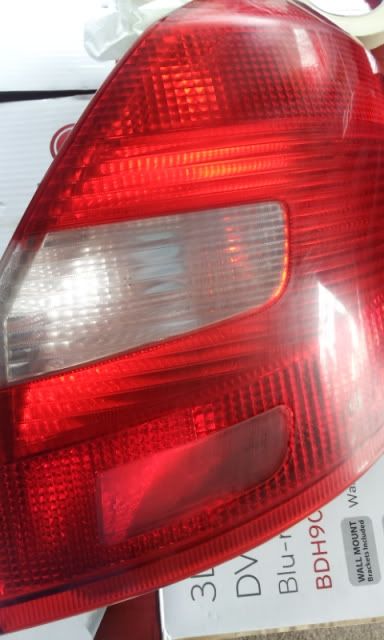
Then flat them down with 2000 grade wet & dry paper and they should look cloudy like this.
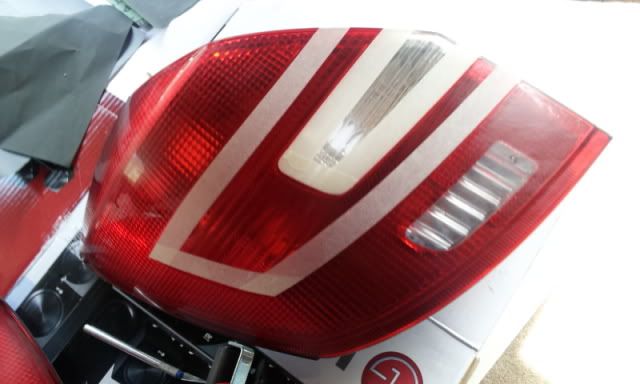
Then using quality masking tape such as 3M (do not use cheap stuff) tape the area you want to be seen.
I have done a indicator & brake light test already, so the following instructions do not obliterate the colour at all. All lights are easily visible day and night. I'll get some night shots done soon.
I used a precision craft knife for the 'corners' or any trimming. Just take your time and don't press hard.
Remember, the edges MUST be completely flat with no wrinkles etc. The finished edge will depend on this, so take note !
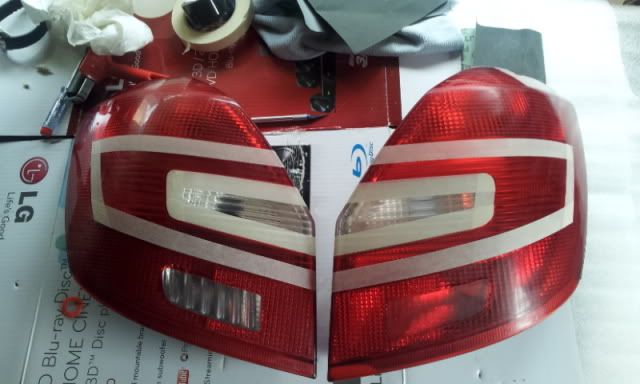
Next apply the tint spray in smooth left to right strokes. Don't be tempted to rush this, just one coat at a time (I used 6 in total for this effect) and leave 10 minutes between coats. This is important, don't rush application or it'll run.
Finally, peel the masking tape away carefully and slowly. If you had patience and smoothed the edges along with the decent masking tape, you'll have a nice neat edge.
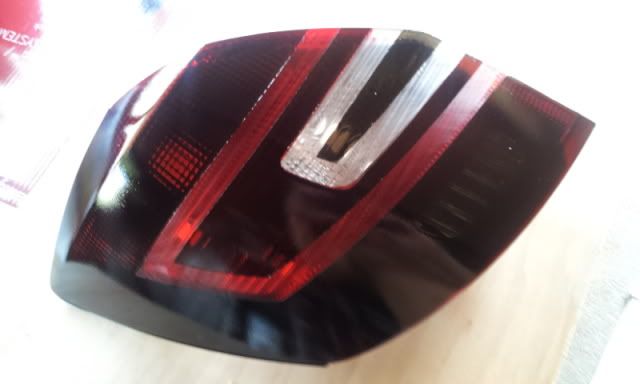
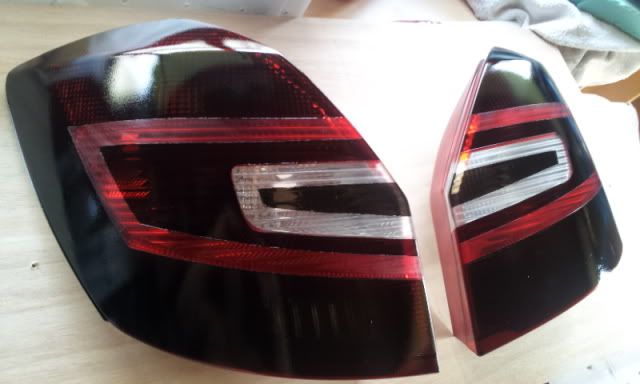
When these coats are dry, time to laquer the entire lens. I used 3 coats, again, wait for each one to dry !
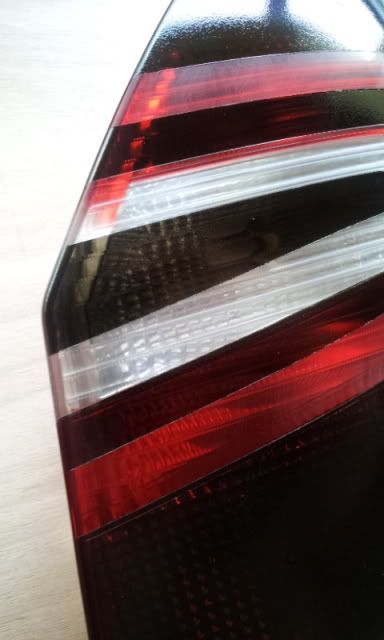
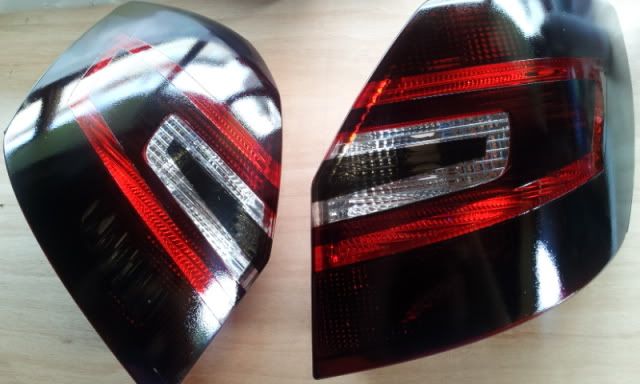
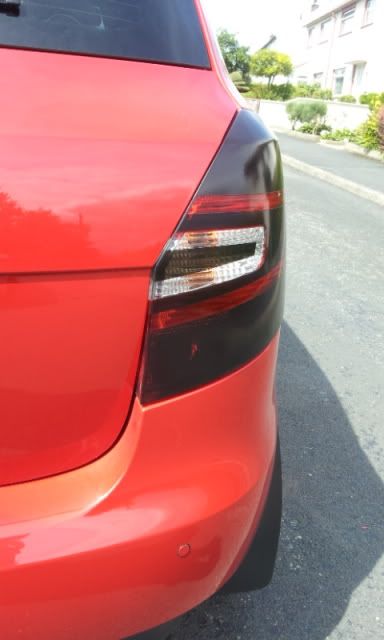
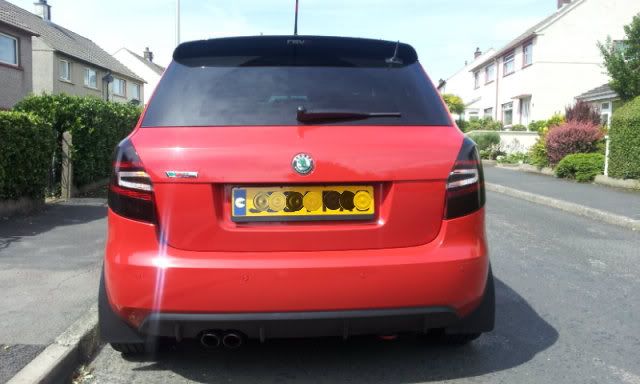
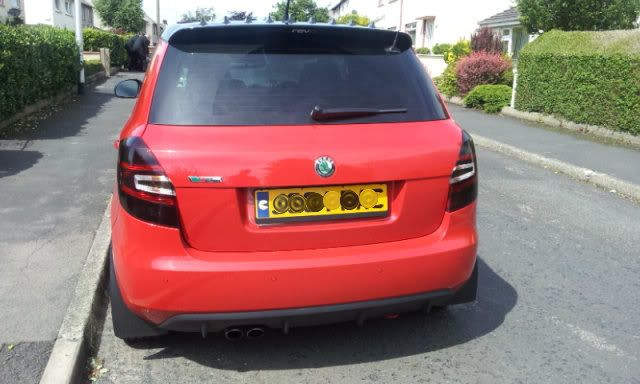
Here's the fitted lenses. They are finished with 2500 grade wet & dry paper, then polished with decent polish. Sorted

[/quote]